You have the opportunity to learn a new skill set that lasts a lifetime! Right now is the best time to learn cold process soap making! Click the link below and begin your soap making journey! New lower price for 2026!
Order Soap Making 101 E-Workshop.

Your opportunity to learn how to make soap is found here!
Order Soap Making 101 E-Workshop and you will be able to create a unique soap ready in about one month! But you must order now to get started!
You will have 24/7 access to the E-Workshop, You may work at your own pace. All five modules are available to access for a one-year time period!
Why use the Cold Process Soap Making method?
Cold process soap making is by far the best technique for soap making. Why? You have the ability to choose your oils, fats and butters. This ability allows you to control & master the eight soap qualities for your specific soap outcome.

Four great reasons to make your own cold process soap!
Number one, You are the commander in chief over which oils, fats and butters to use in the soap batch. You manage the specific percentage amounts of each oil, fat and butter for qualities such as a highly moisturizing soap or a hard soap that will last a long time.
Number two, You have the ability to personalize the scent of your soap by using essential oils alone or in combinations. Create your own personal favorite scent or a medicinal scent. The choice is yours.

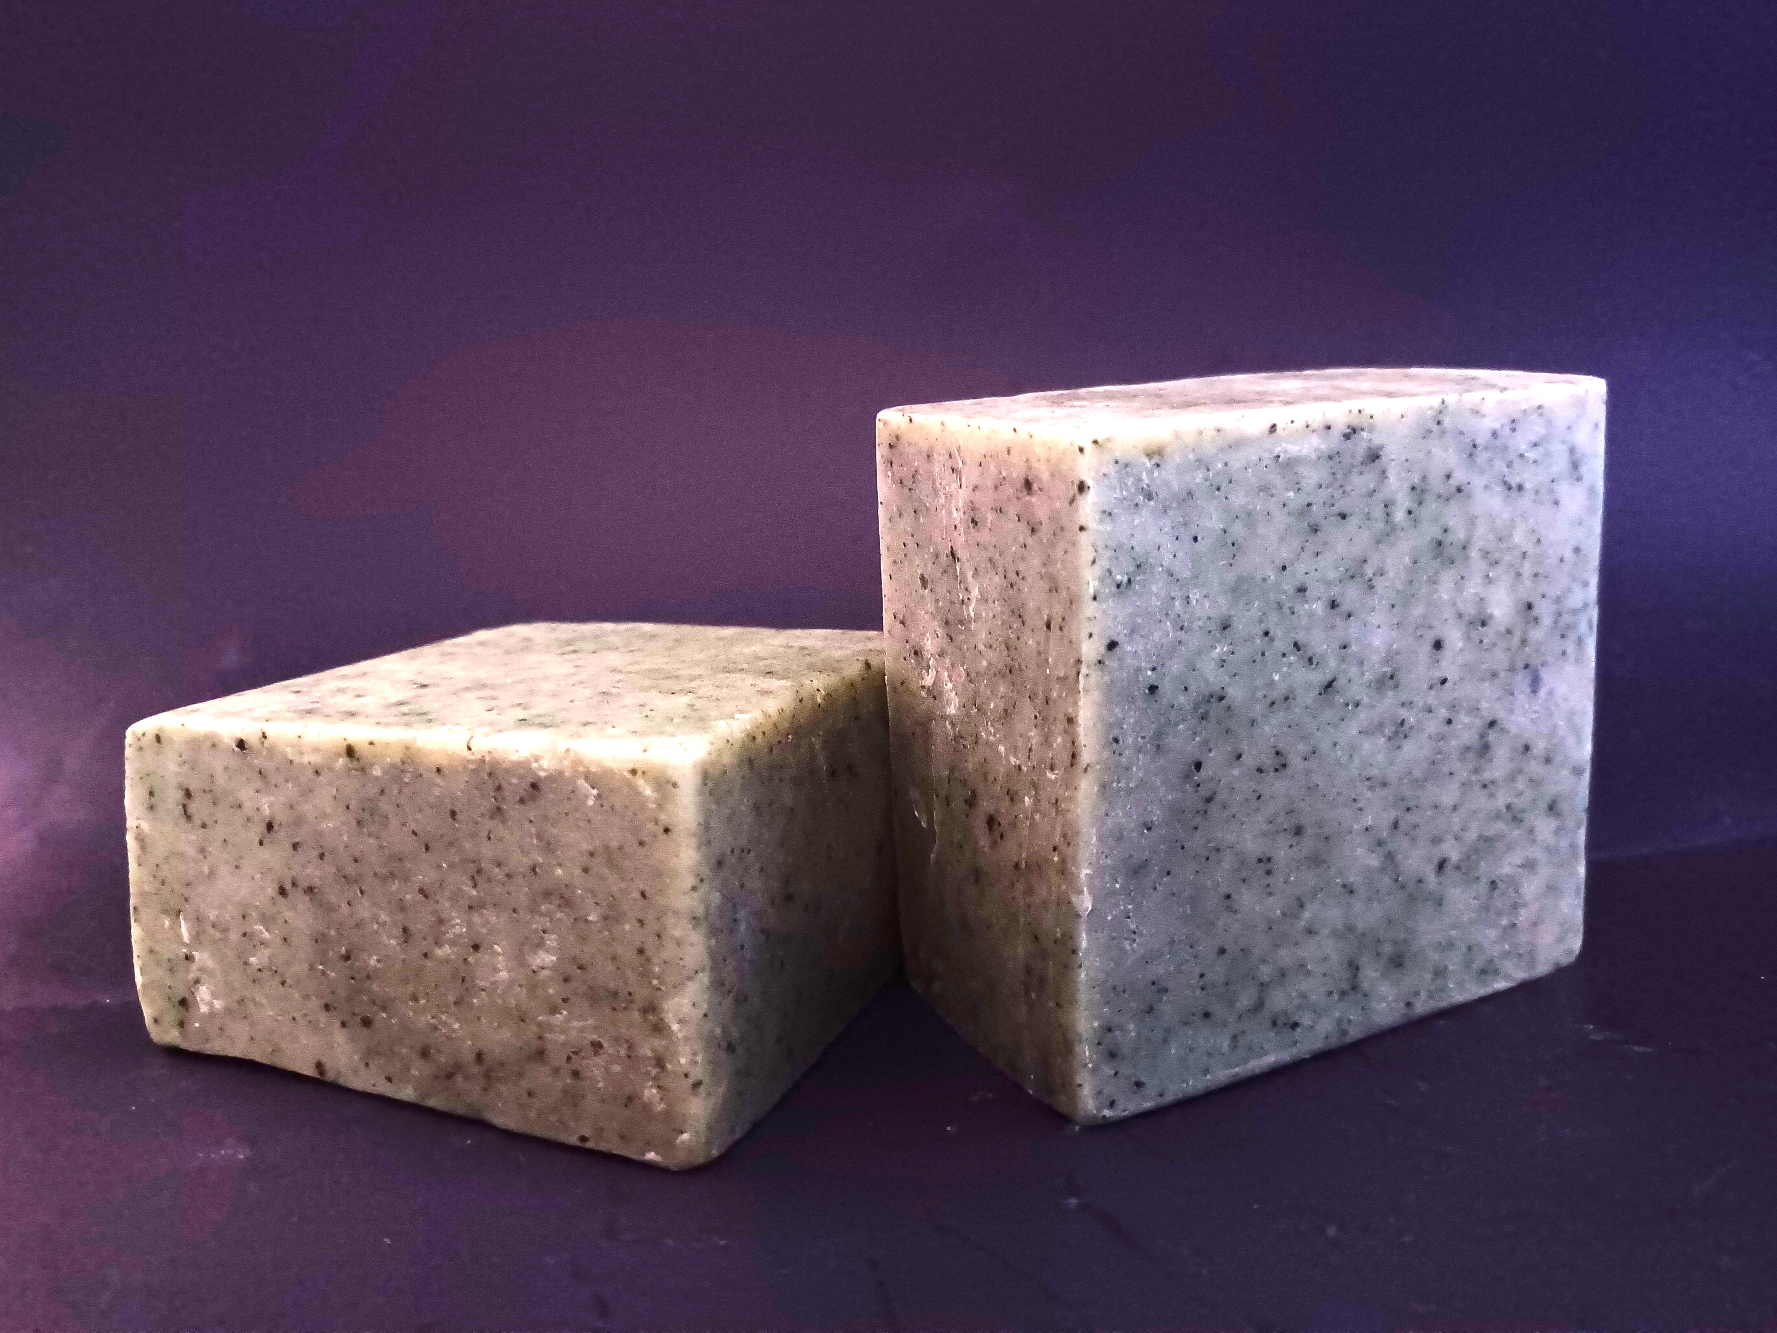
Number three, Ability to govern the exfoliation level of your soap. There are several levels of exfoliation in your soap. Smooth - No exfoliation used. Mild - The use of clay's. Medium - Use of whole grains. Heavy - Adding sands or volcanic rock. Do you like smooth or abrasive?
Number four, Create a visually appealing soap bar. Add colorants, make swirls or layer colors in your soap. There are many techniques to accomplish this.
Are you using conventional soaps that keep your skin dry?
If you were like me, I had dry skin with annoying itchiness at times. I never really thought about the soap I purchased from the store or what the ingredients included. The reality was that conventional soaps were causing the dry itchiness that I was experiencing. So, once I decided to make my own soap (using the cold-process technique). I solved the chronic dry skin issue by using better ingredients in my personalized soap!
Feeling trapped by your everyday soap? Yes It's true we are creatures of habit. It takes about a month of effort to rewire your brain to break one habit and replace it with a better habit. If your everyday soap isn't giving you the love you deserve, maybe it's time to ditch the conventional soap and make your own!
Cold Process Soap Making can be simple or complex. What kind of soap do you want to make?

Cold Process is the method where you're in control!
The Cold Process Soap Making technique allows you the most control over your soap making creations. You can create amazing soaps! We will guide you through each step on your journey.
With the proper instructions anyone who has the desire to make soap will succeed. There is a little Math, a little Chemistry and of course your own Creativity is needed.
New to soap making? Learn the basics by purchasing our Soap Making 101 E-Workshop. Click here to Order/Enroll in the workshop now!
Simplified workable steps.
Follow along and you’ll know what needs to be done at each step and why. Look at the Soap Making Process often to get familiar with the entire process from start to finish. Here is a quick preview below.

1. Start with the end in mind first. What do you want your soaps to do for you?
Are you more interested in “sight”, “smell” or “touch”?
You may be interested in making a soap that satisfies all three senses.

Think about the qualities and attributes you want your soaps to have. Do you want a harder bar? How about a soap that lasts longer? What about it’s ability to moisturize your skin.
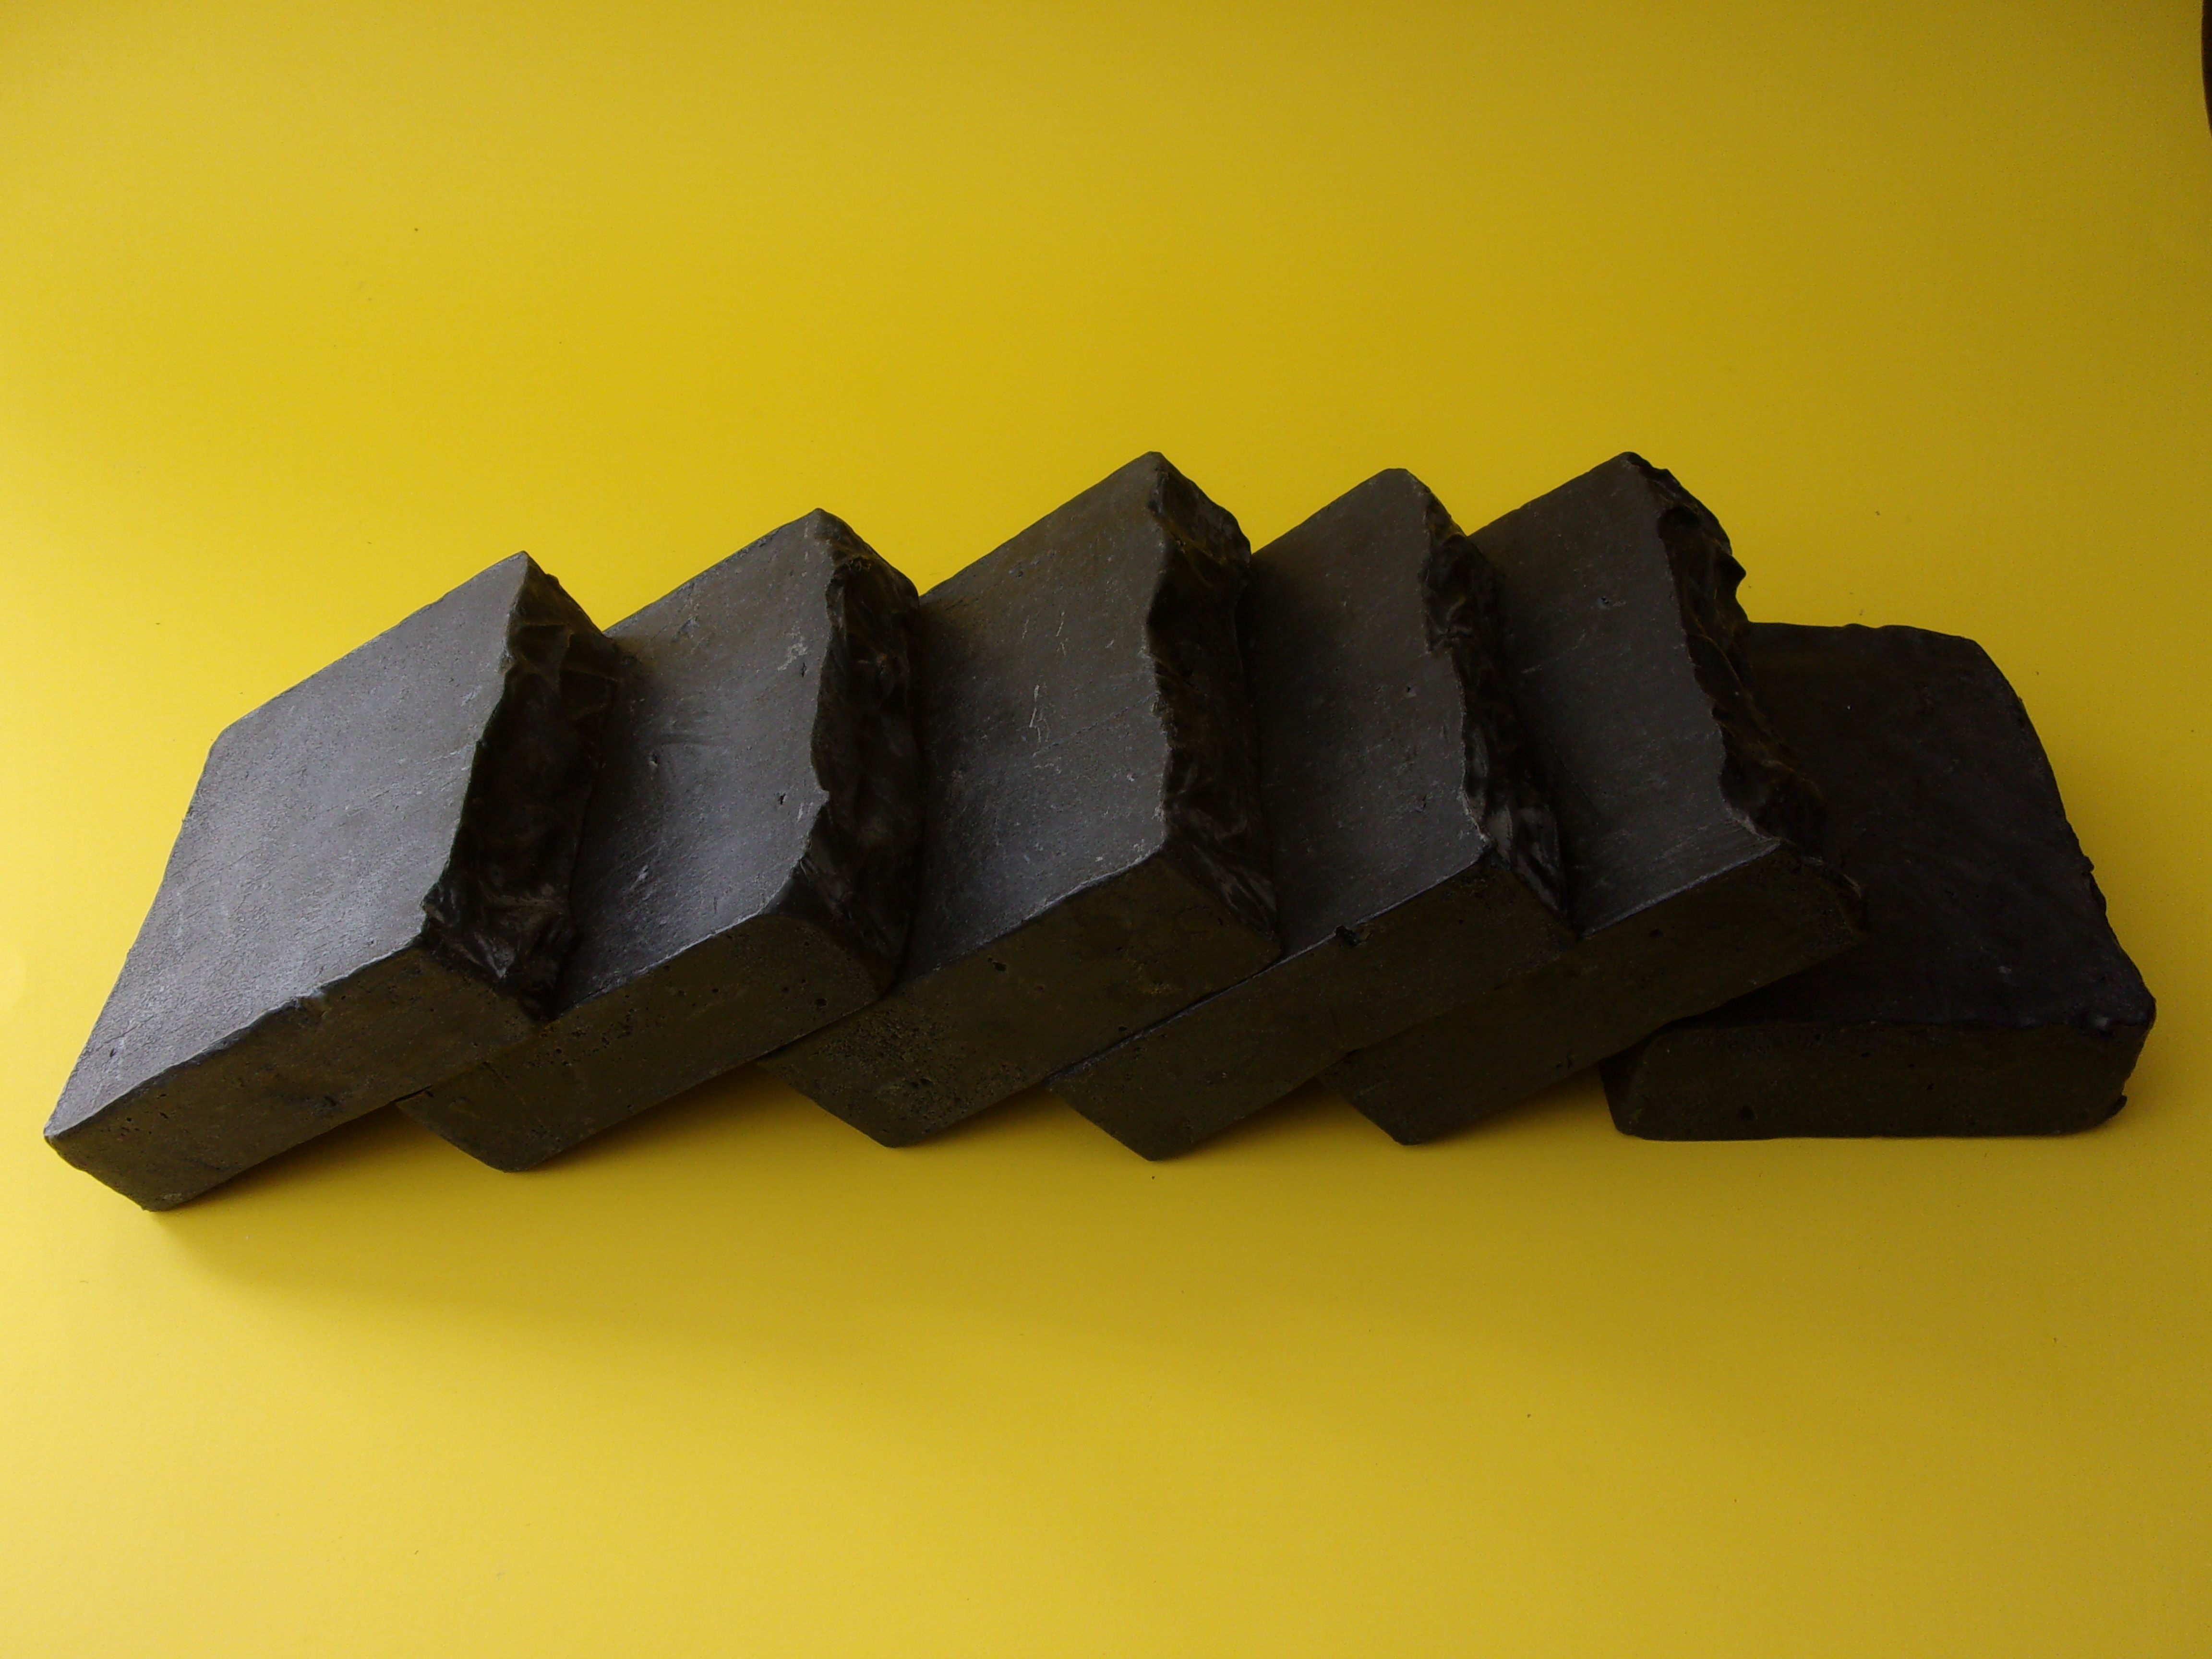
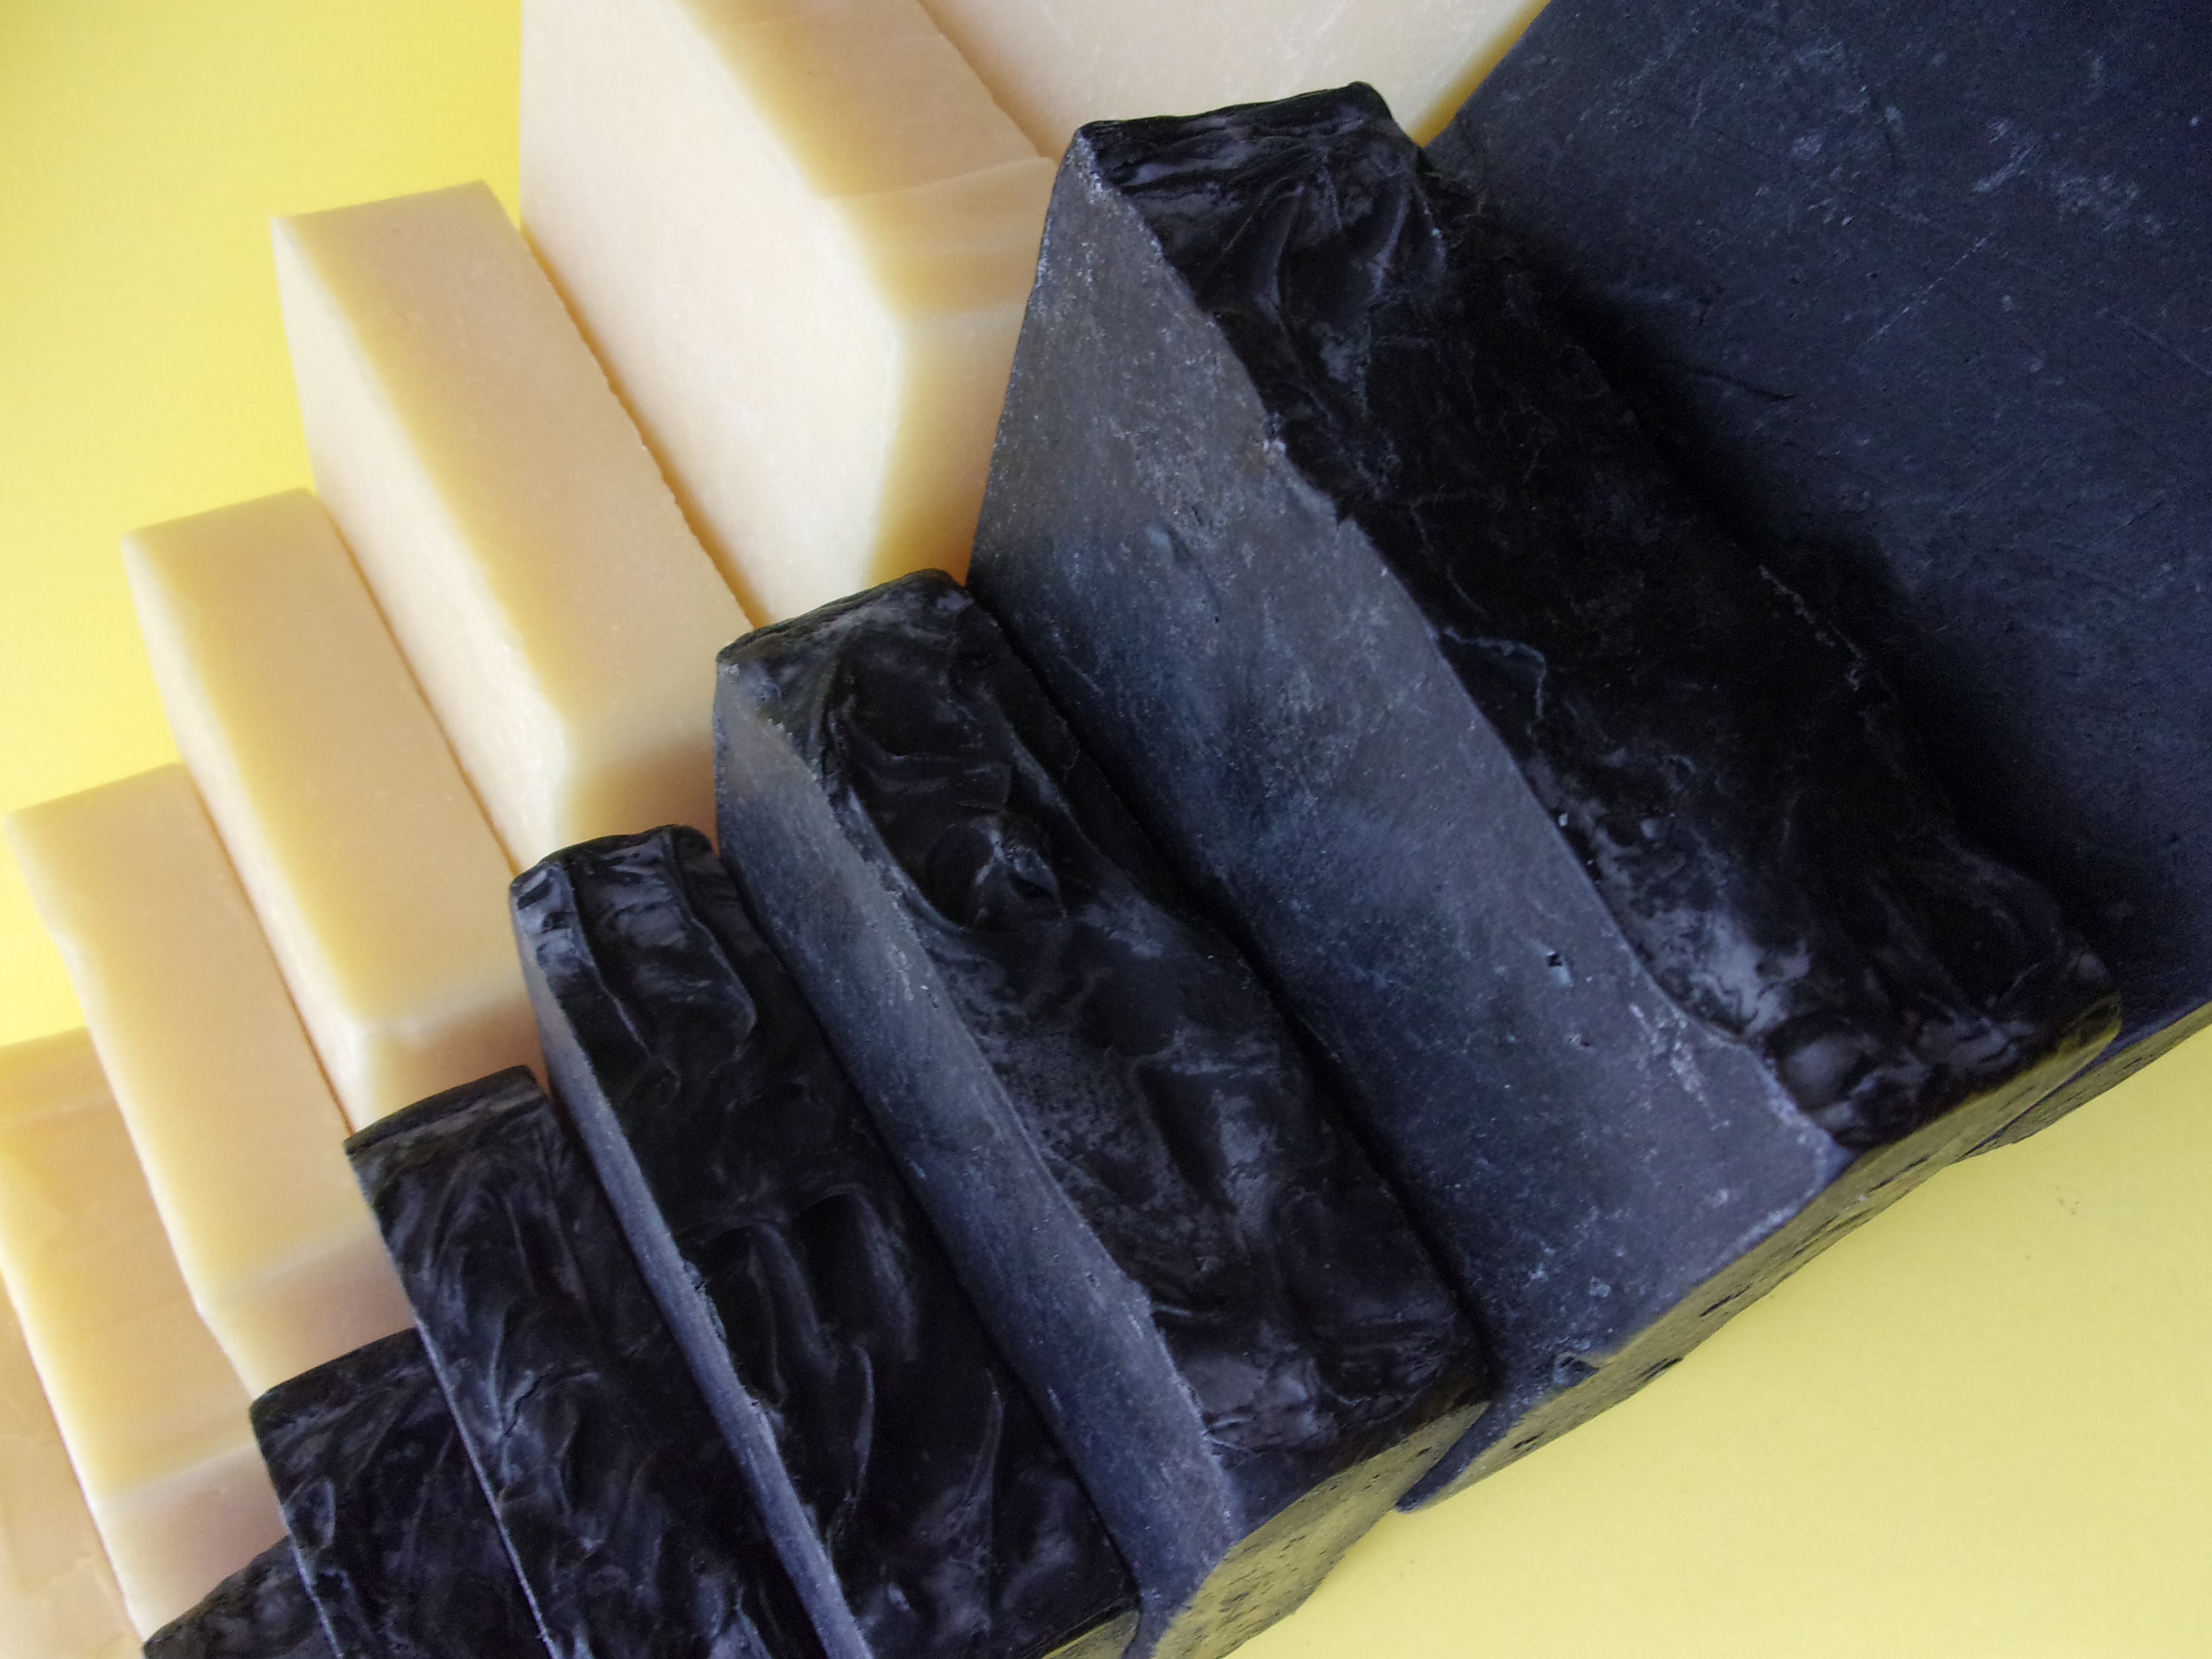
It can be very rewarding to create a soap that has achieved the results that you were looking for! In this picture we have several bars of activated charcoal soap. The creative options are many, but the choice is up to you.
2. Next, How much soap do you want to make? Think about your batch size.
3. Calculate the recipe on paper first. Check and re-check your calculations.
4. Acquire and/or purchase the Equipment, Supplies, Tools, and Safety Gear needed for soap making. Some of these items you may already have at home.
5. Gather up all ingredients for the recipe.
6. Accurately measure and weigh out your ingredients on a scale.
7. The mixing step. Follow this very carefully as each ingredient needs to be mixed at the precise time in order for the batch to come out properly. When the soap mixture goes to trace then you can add essential oils, fragrances, herbs or abrasives at this time.
8. Pour your soap substance (when it has the consistency of pudding) into the soap box mold. You’ll want to do this quickly before the soap gets too thick and cements. After pouring you must cover the soap box with a lid and insulate the box.
9. Cleanup step. Either cleanup now or wait 24 hrs. Here's why...
10. After 24 hours, Cut the soaps into your desired bar size.
11. Allow to cure for about 4 to 6 weeks.
12. Test your soaps, Use your soaps, Were they great? or were they so-so? or not to your liking? Adjust the soap recipe as needed! Find out what changes need to be made, then start the process over again and make a new batch.
Ready to make your first soap batch? Click here to get started!
Recent Articles
-
Soap Bar Marketplace
Find out what soaps are currently available! Purchases, Pre-Orders and Limited Time Offers are found here on the new Soap Bar Marketplace page. Check it out! -
Best Soap Calculator
Are you designing a new soap recipe? Find out which of the many soap calculators out there is the best soap calculator to use. -
Lye For Soap Making
Does lye make you fearful? Well fear not! Understand that lye is a powerful friend in soap making. Without lye there is no soap. Learn to handle lye in a safe manner and you will increase your soap ma… -
Best Oils For Soap Making
What are the Best Oils For Soap Making? It Depends Entirely On What You Want To Achieve. Do You Like A Hard Soap? What about Moisturizing Abilities? Or Bubbly Lather? Ask these questions to know which… -
A Mild Exfoliating Oat Soap
Create a soap that has mild exfoliating properties using one popular breakfast item, oatmeal! Grind the oats to a fine powder and the exfoliation is very mild. -
Bar Soap Or Liquid Soap
This is the age old question of whether to make bar soap or liquid soap? Consider several factors, then decide which is best by participating in our challenge! -
Activated Charcoal Soap Recipe
Activated charcoal soap has an interesting quality, It is adsorbent! This is different from absorbent. Learn more by reading our Activated Charcoal Soap Recipe.


